How to virtually stage a room
Open Stage in Pixly, add a photo of the empty room, pick a style and click Stage. About half a minute later the same room is furnished in that style — walls, windows and floor as they were. It costs 1 credit per photo.

These are the real Stage screens. Click a step to jump to it.
- 5 steps
- About 2 minutes
- 1 credit per photo
The five steps
- 01
Open Stage
In Pixly, go to Photo AI and pick Stage under Rooms. It is the tool that furnishes a room; the others next to it empty or tidy one.
- 02
Add a photo of the empty room
Upload it, drag it onto the page, paste it, or choose one from your library. A wide, level shot taken from a corner gives the furniture the most room.
- 03
Choose a style
Pick one of the styles shown, open Browse all 61 styles, or choose Describe your own and write the look you want. Choose for the people who will buy or rent the home, not for your own taste.
- 04
Click Stage
If you like, add a brief first — what the room is for, what to put where — or set the room type; otherwise Pixly reads it from the photo. The button shows the price: 1 credit. It usually takes 20–40 seconds.
- 05
Compare and save
The staged room opens next to the empty one. Switch between the two to check the furniture fits the space, then save it, ask for changes, or upscale it to HD for free.
The steps on one page
Save it, print it or send it to your team.

Show the change as a video
Staging reveal turns the empty room and the staged one into a short video: the furniture appears in the room. Buyers see what was really there and what it could become — good for social posts and listing videos.
Make a staging video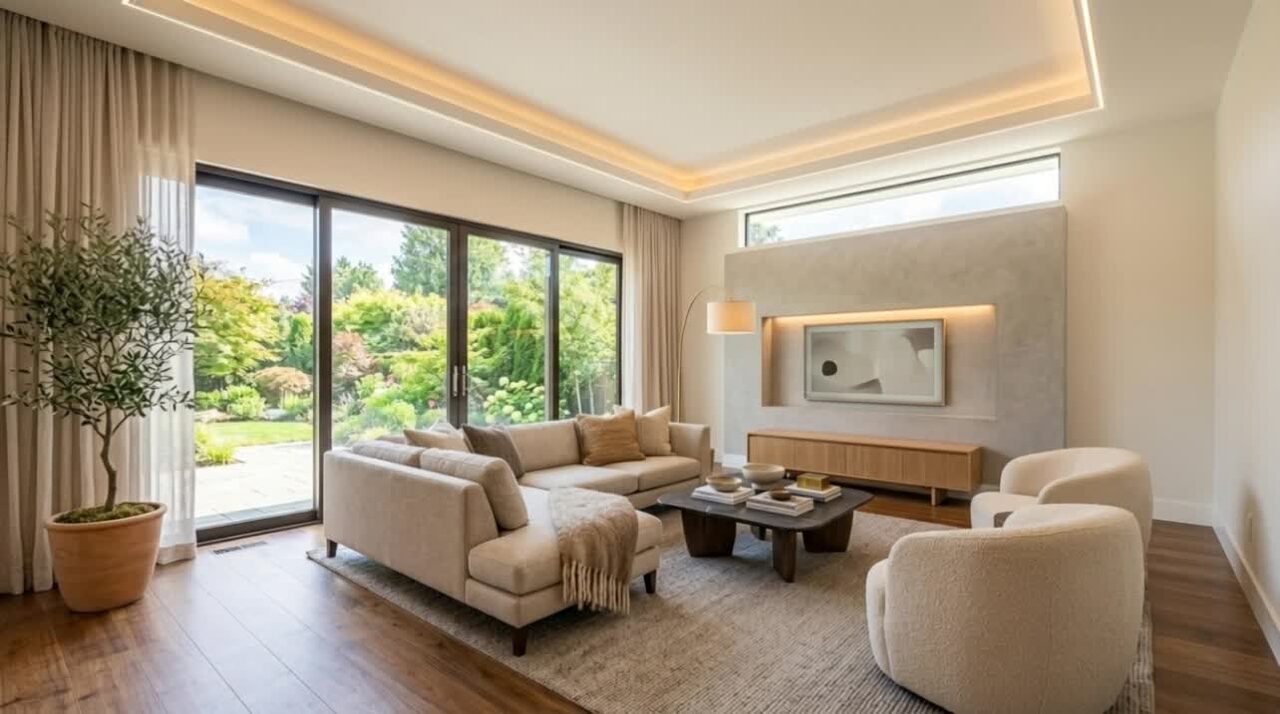
Photos that work best
- A truly empty room, or close to it: furniture in the photo limits what can be placed.
- Shot from a corner at about chest height, with as much floor visible as possible.
- Daylight and straight verticals. Blur, tilt and dark corners stay in the result.
- One photo per room angle, so each version can be checked on its own.
What to avoid
- Close-ups of a single wall: there is no floor to put furniture on.
- Wide-angle shots that bend the walls — the furniture follows the distortion.
- Using a staged photo without saying so where your market or listing site asks you to.