Drone Video Property Line Editor
Upload drone footage, draw the parcel boundary, run queued GPU CoTracker auto-tracking, correct the result with editable keyframes, style the overlay, and export the finished video in your browser.
Tool by Pixly — AI property staging, videos & reels in minutes.See howDrop a drone video here
or click to browse - MP4, MOV, M4V or WebM
Upload a drone video to start drawing keyframes.
Manual keyframes are your correction anchors. Drag a corner to save one, or click a diamond on the timeline to select it.
Click a keyframe (diamond) on the timeline to track from it
Position the boundary on the first frame — it saves as a keyframe automatically. After tracking, move the playhead and adjust corners wherever the drone motion needs another correction.
Why add property lines to drone video?
Drone footage is one of the clearest ways to show land, acreage, and development sites, but buyers still need to understand where the parcel begins and ends. Automated tracking gets the boundary moving with the footage, while editable keyframes and styling controls let you correct, refine, and present the outline clearly.
Frequently asked questions
What can this drone video property line editor do?
It lets you upload drone footage, draw a parcel boundary, run queued GPU CoTracker tracking, correct the motion with editable keyframes, refine between keyframes, style the line and fill, add animated labels, save your keyframes locally, and export the finished video in your browser.
Does Pixly upload my drone video?
For playback, editing, save/load, styling, and export, the source video stays in your browser. When you run tracking, the browser prepares a lightweight copy of only the selected range and sends that tracking clip to Pixly's GPU worker.
How does automatic tracking work?
Pixly queues the job and runs CoTracker on a GPU worker. The tracker estimates how the parcel boundary moves through the drone shot, then returns editable tracked frames to the browser. There is no CPU fallback; if the GPU worker is unavailable, tracking fails instead of silently using a weaker method.
Can I correct the boundary with multiple keyframes?
Yes. Manual keyframes are the correction anchors and source of truth. Add or adjust keyframes anywhere the drone motion drifts, then refine so each segment is re-tracked between the surrounding keyframes, including the final selected range after the last keyframe.
What styling and animation controls are included?
You can set line colour, width, opacity, dashed lines, fill, glow, corner pins, line reveal direction and duration, plus an optional label for lot size, price, or custom text. Labels can be positioned on the plot and animated after the boundary reveal.
Can I save my work and continue later?
Yes. Save a local Pixly keyframes file with your manual keyframes, tracked frames, trim range, styling, reveal settings, and label settings. Re-open the same video later and load that file to continue; the saved file stays on your device.
Can I export the finished video?
Yes. Export runs locally in your browser from the original video with the tracked overlay, styling, reveal animation, and label. MP4 is used when your browser supports it; otherwise Pixly downloads a WebM video.
Free Image & Video Tools by Pixly
From Pixly
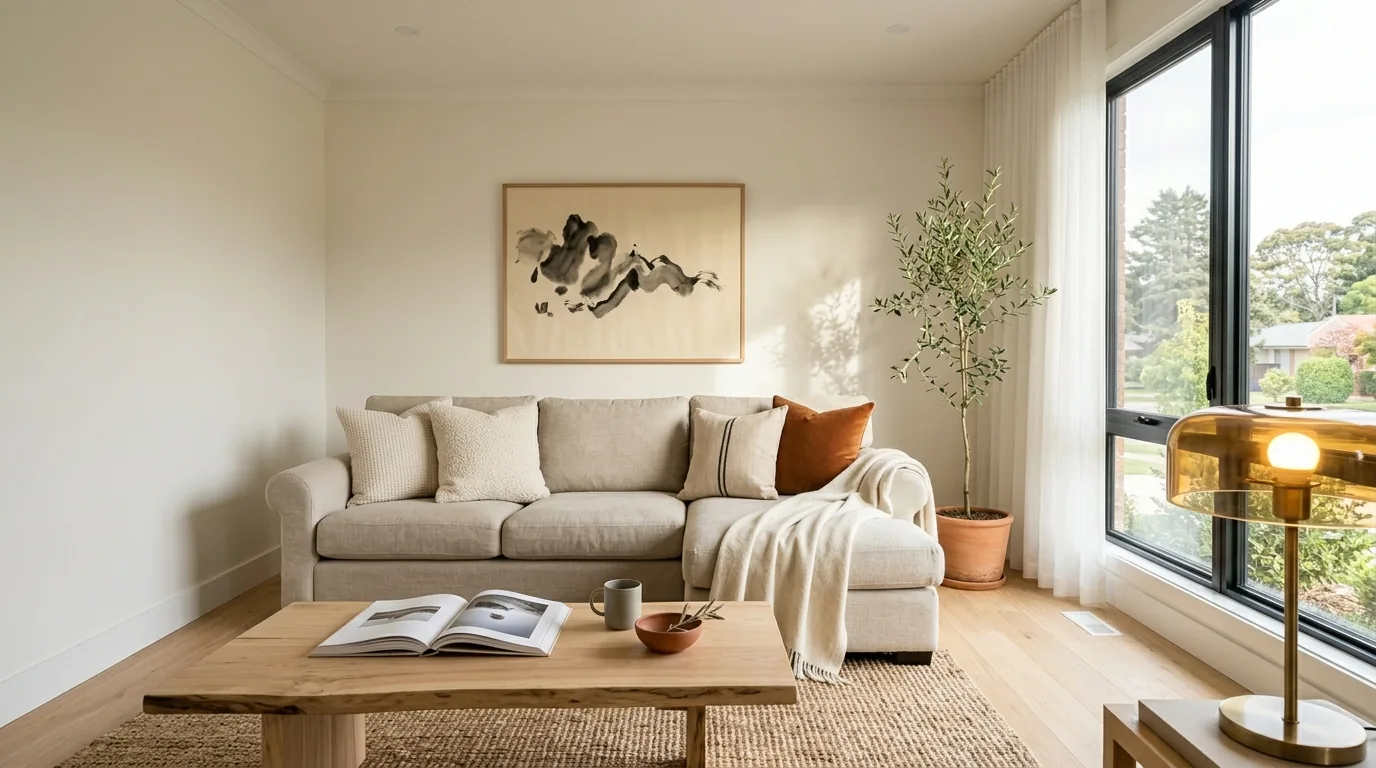
Turn property footage into polished listing media
Pixly creates AI virtual staging, day-to-night, construction reveals and cinematic property videos - in minutes.
 BeforeAfter